
Hi Crafters! ![]()
Hope you’re having fun bringing your amazing ideas to life in IdeaStudio! Whether you’re designing on the canvas, exploring the material library, or sharing your projects, we love seeing what you create.
Lately, we’ve noticed something that might be holding some of your gorgeous projects back—when you upload cover photos for your projects, sometimes the handmade pieces get cut off or aren’t fully visible. That means your beautiful work might not shine as brightly as it should when displayed on our platform.
No worries—we’ve got a super simple fix for you! ![]()
![]() Quick Photo Tip for Perfect Cover Shots:
Quick Photo Tip for Perfect Cover Shots:
When taking photos of your handmade items for your project cover, try these easy steps:
![]() Shoot in Square Mode: If your camera has a square option, use it! This way, what you see is exactly what will show up on the project page—no surprises.
Shoot in Square Mode: If your camera has a square option, use it! This way, what you see is exactly what will show up on the project page—no surprises.
![]() Center Your Masterpiece: Place your handmade piece in the middle of the frame, and leave a little breathing space around it. This ensures that even if the image gets cropped slightly, your creation stays front and center.
Center Your Masterpiece: Place your handmade piece in the middle of the frame, and leave a little breathing space around it. This ensures that even if the image gets cropped slightly, your creation stays front and center.
By following these tips, your project will look clean, professional, and totally IS-ready.plus, it’ll get the attention it deserves when members browse through IdeaStudio Library!
Need a little inspiration? Check out these awesome examples from our community. Notice how their cover photos are clear, balanced, and let the artwork take the spotlight:
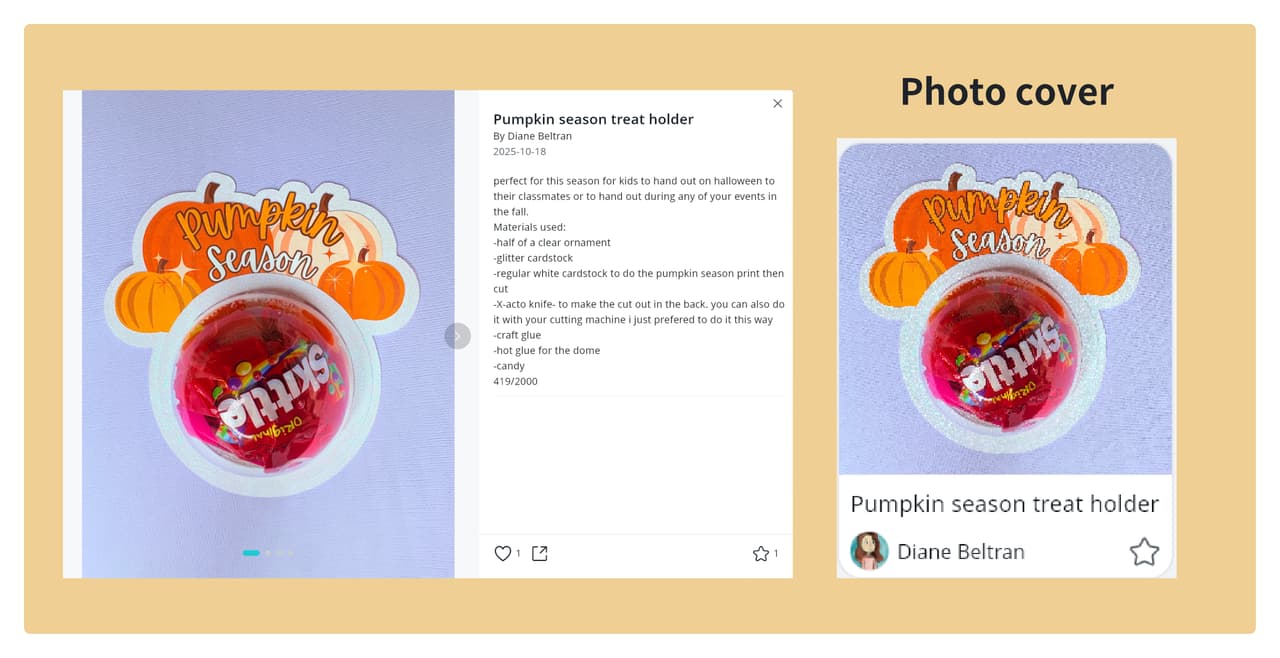
![]() DIY Project Sharing | Pumpkin season treat holder
DIY Project Sharing | Pumpkin season treat holder
![]() DIY Project Sharing | Gracias! EVA Foam Stamps with my Crafter
DIY Project Sharing | Gracias! EVA Foam Stamps with my Crafter

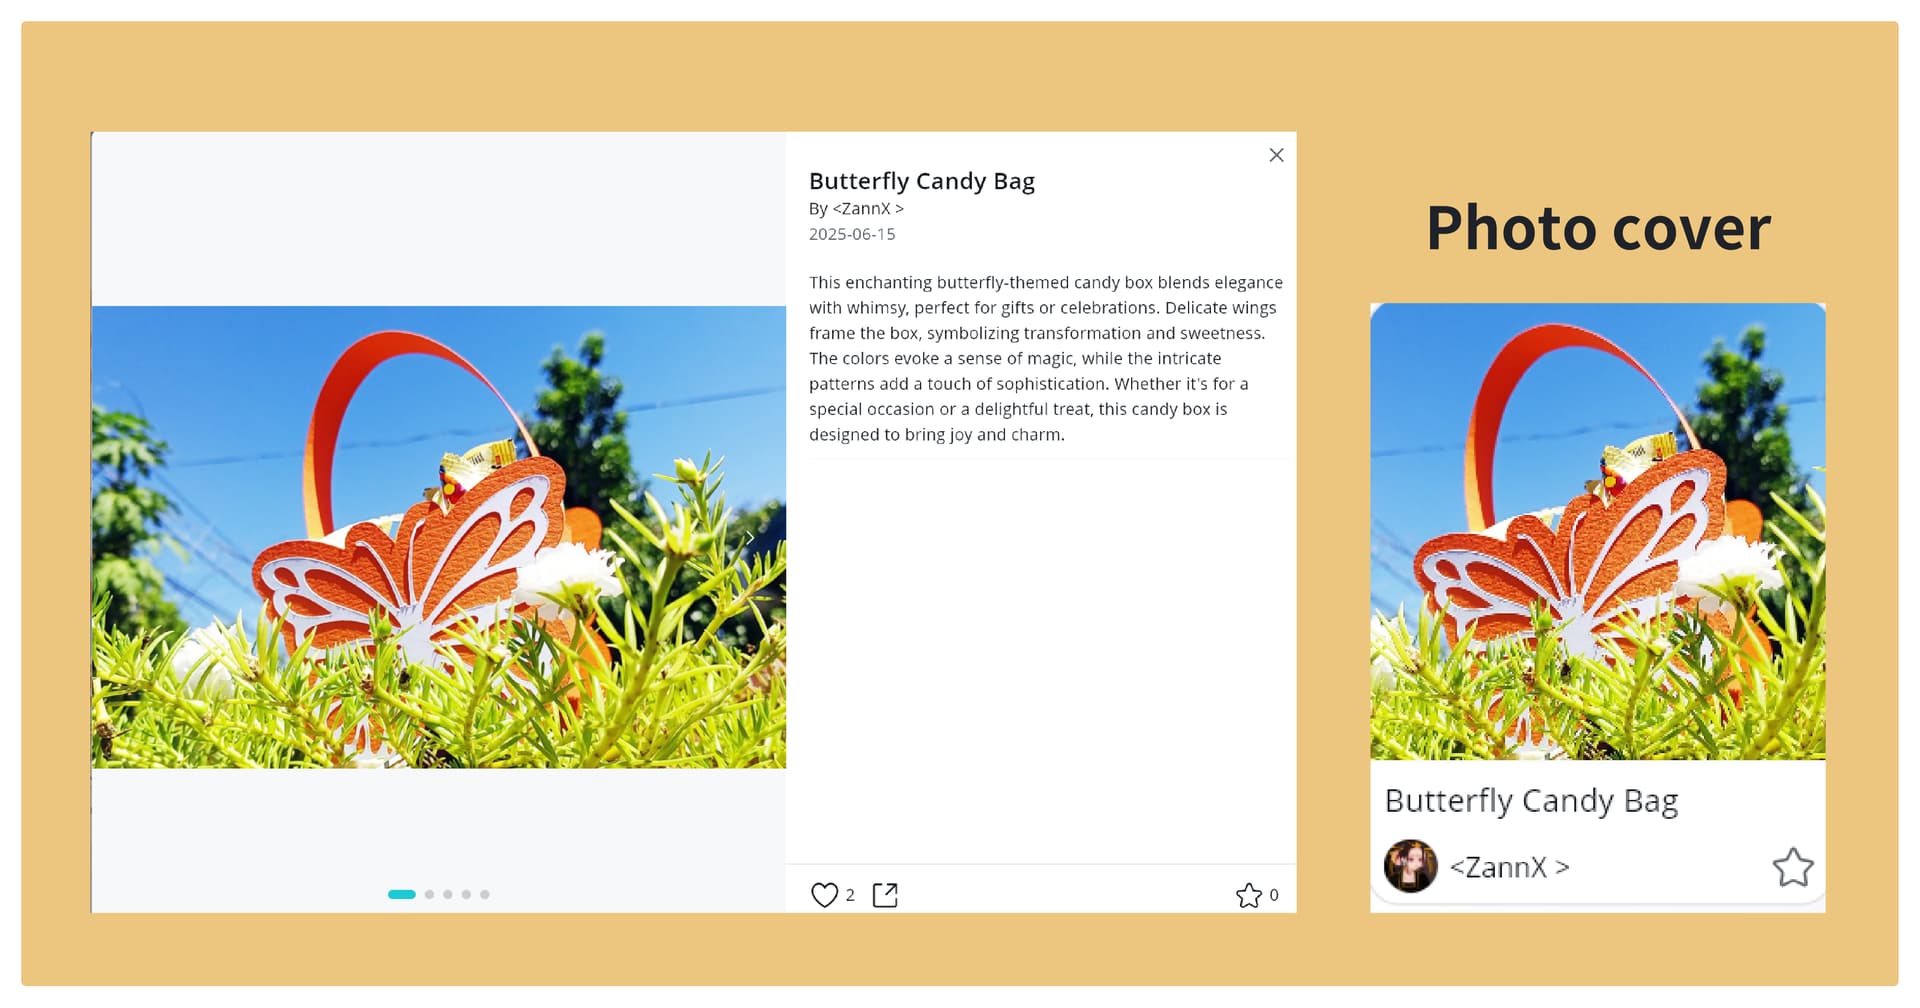
![]() DIY Project Sharing | Butterfly Candy Bag
DIY Project Sharing | Butterfly Candy Bag
You’re doing incredible work—let’s make sure it gets seen!
Can’t wait to see what you’ll share next. ![]()
Happy creating!
Related article:
Project Sharing |📸How do I create a quality photo of my project?