


Easter Bunny Magnet Keychain Holder Tutorial Materials:
- 5mm Rigid Sintra (you can also use a lighter Sintra, like 3mm, if you want to cut it manually)
- Sticker paper (90gsm)
- Glittered photo top
- Cutter
- Scissors (manual)
- 2 pcs Magnets
- B-7000 Glue
Design:
-
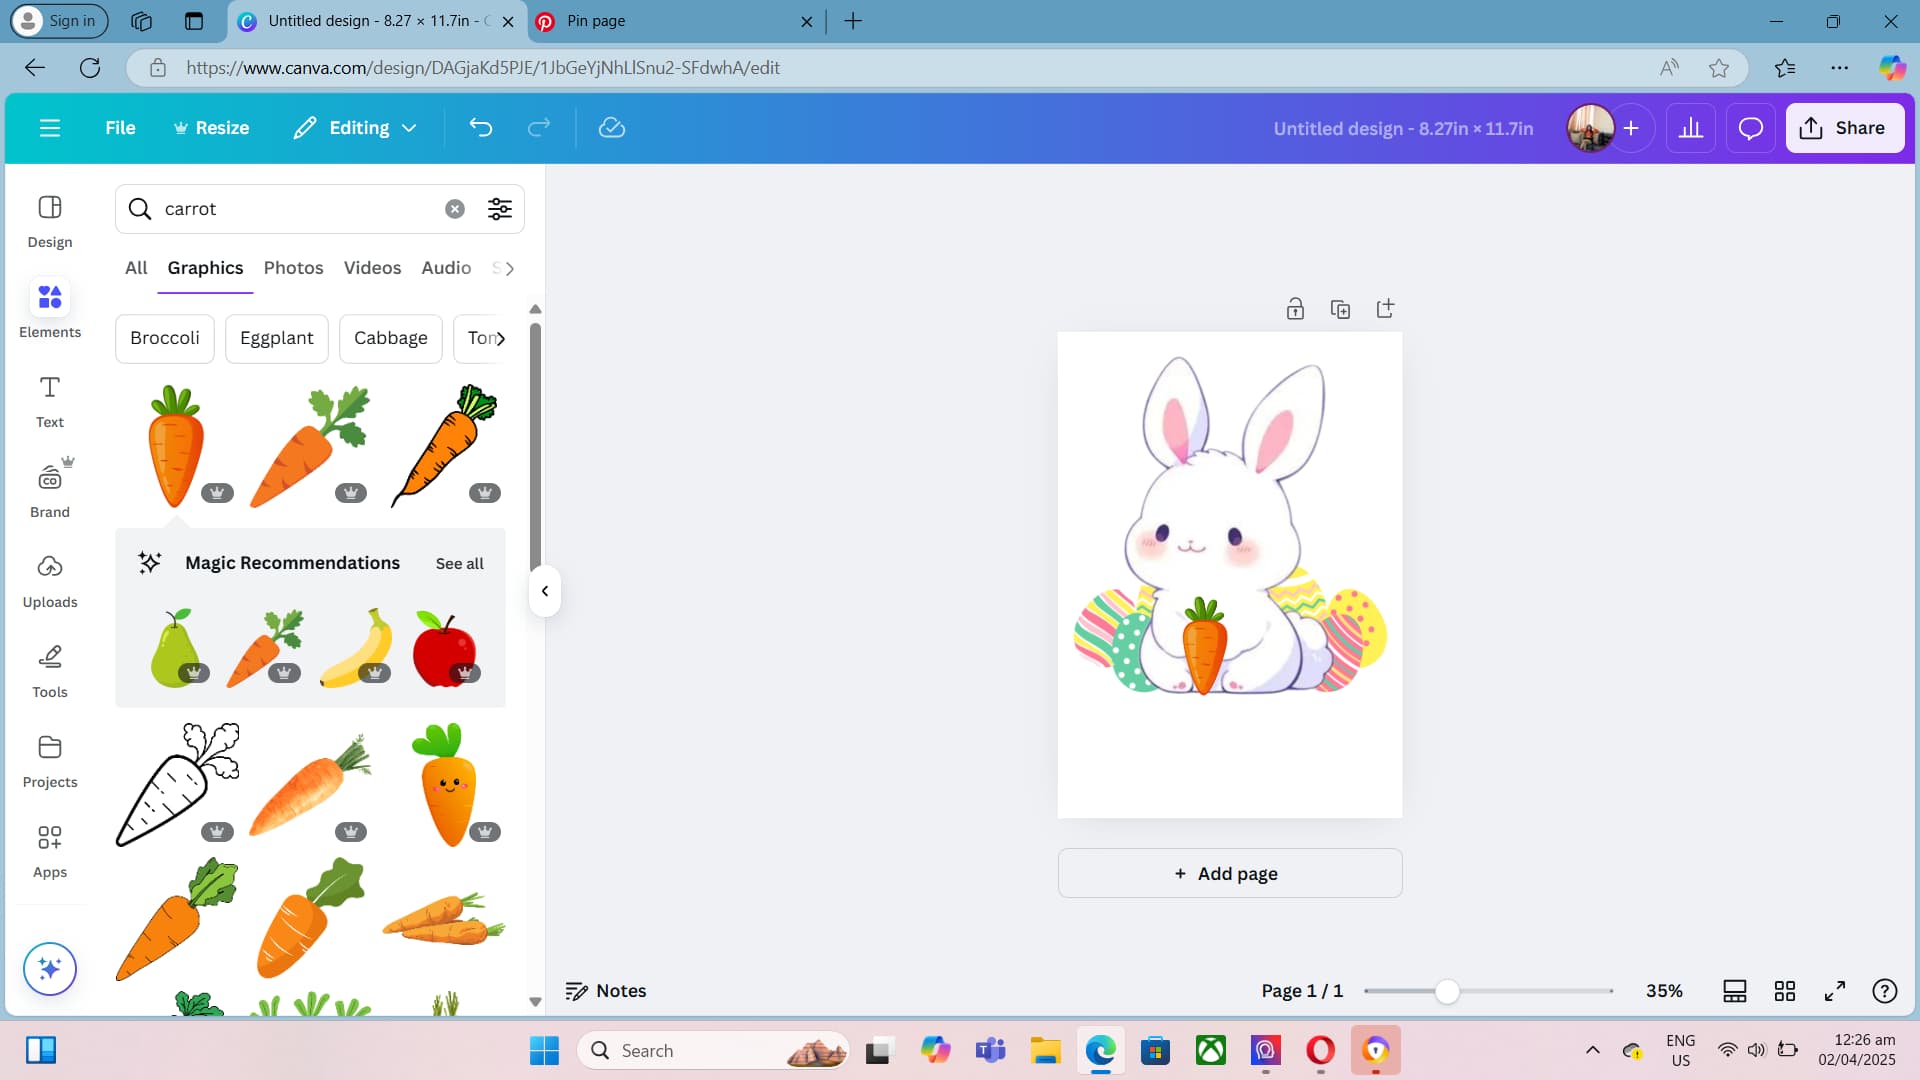
Choose your design: We’ll start with a bunny from Pinterest. Add some Easter eggs and carrots in the background. You can use Canva to create this design.
-
Print your design: Print the design onto sticker paper.


Assembly:
-
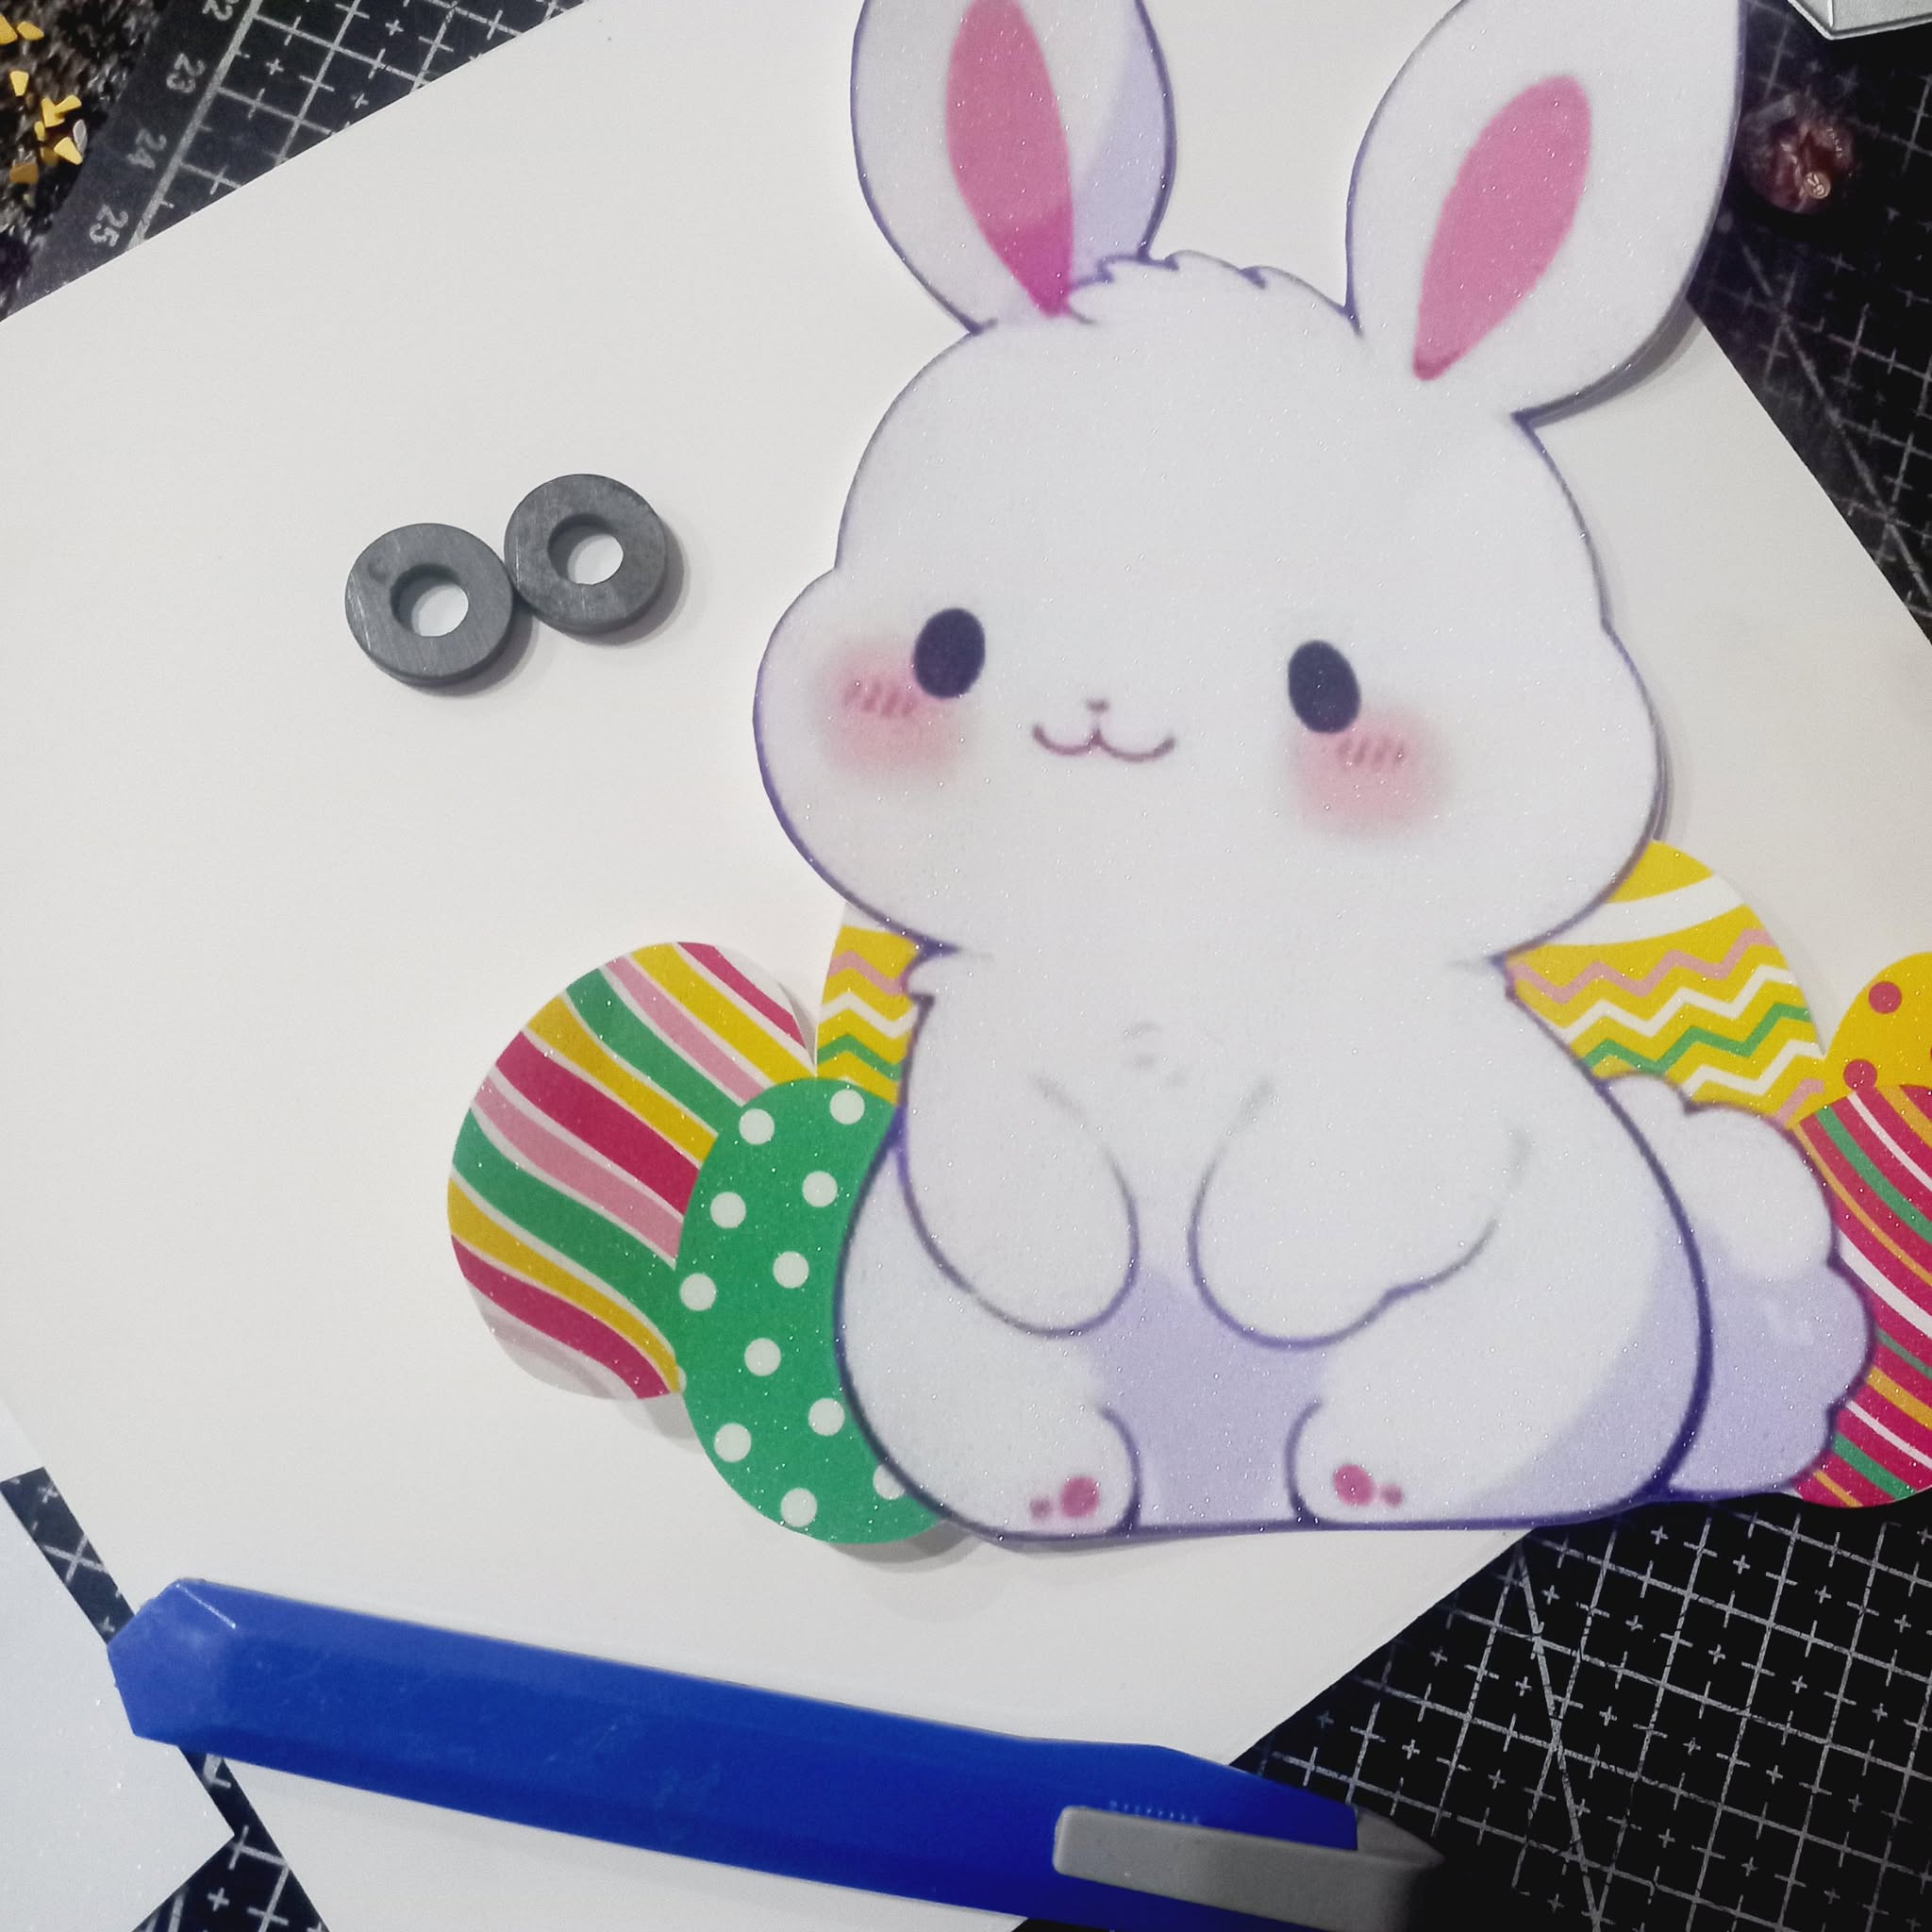
Add the photo top: Carefully cut the glittered photo top to size and attach it to the front of the Sintra.
-
Cut your design: Carefully cut out the bunny, eggs, and carrots using scissors. If you have a Loklik cutting machine, you can upload the design and cut it using that method instead.
-
Prepare the Sintra: Cut a piece of Sintra that’s slightly larger than your design.
-
Cut the Sintra: Use a cutter to carefully cut out the Sintra, following the shape of your design.
-
Make a hole: Use a drill or a hole punch to make a hole in the Sintra to attach the magnet. Make sure the hole is aligned with the bunny’s design.
-
Attach the magnet: Put a dab of B-7000 glue onto the magnet and then attach it to the back of the Sintra, inside the hole you made.
-
Add the sticker: Carefully peel off the backing of your printed design and stick it onto the Sintra.
-
Attach the carrots: Repeat steps 6 and 7 for the carrots, using the same method to attach them to the Sintra.
-
Cut the Sintra Board


Important Notes:
- Cutting the Sintra: Use a cutter to cut the Sintra, making sure to use a firm but steady hand.
- Magnet Size: I used small magnets that can hold lighter objects, but you can use stronger magnets if you want to hang heavier items.
Let’s get crafty!